Difference between revisions of "Objectives"
| Line 2: | Line 2: | ||
Players can spawn at any Airbase or FARP that is under their teams control. To win the round, all Airbases and FARP's must be captured by your team. More information on capturing these points can be found in the [[Logistics]] topic. | Players can spawn at any Airbase or FARP that is under their teams control. To win the round, all Airbases and FARP's must be captured by your team. More information on capturing these points can be found in the [[Logistics]] topic. | ||
| + | |||
| + | |||
| + | == Capturing Objectives == | ||
| + | Only a NEUTRAL airfield or a FARP, is capturable. Objective CLOSED is not the same as NEUTRAL. CLOSED means the objective still has enemy units but the enemy cannot spawn there anymore. | ||
| + | |||
| + | Once the airfield or a FARP has no units remaining, its' status will be listed as "neutral" and "capturable" in the [[PAK-info]] menu. | ||
| + | |||
| + | Best option is to use a logistics air frame (UH-1, Mi-8, SA-342L) capable of loading up troops (any kind will do) and a repair crate simultaneously from any friendly airbase, farp, roadbase, naval base or a carrier. Load up the troops and a repair crate via radio menu using the CTLD-options. | ||
| + | |||
| + | Navigate to the capturable objective and exract your troops, within 5km (ideally less) from the radio masts marking the objective location. Wait for a server message "...has captured objective x" | ||
| + | |||
| + | Once objective is captured, you can drop the repair crate also enforced by a server message. | ||
| + | |||
| + | Friendly infrastructure and air-defenses will only begin spawning in once at least one repair compound is established, see the Repair mechanics for a more detailed description | ||
<br /> | <br /> | ||
| Line 7: | Line 21: | ||
An Airbase is defended by the below units: | An Airbase is defended by the below units: | ||
{| class="wikitable" | {| class="wikitable" | ||
| − | |+ | + | |+Caucasus Modern Airbase Defenses |
!Warsaw | !Warsaw | ||
!NATO | !NATO | ||
| Line 29: | Line 43: | ||
|1x Linebacker M6 | |1x Linebacker M6 | ||
|- | |- | ||
| − | | | + | |1 x SA-19 Tunguska |
|1 x Roland ADS + Roland EWR | |1 x Roland ADS + Roland EWR | ||
|- | |- | ||
| − | | | + | | |
|1 x M48 Chaparral | |1 x M48 Chaparral | ||
|- | |- | ||
| | | | ||
| − | | | + | | |
|} | |} | ||
{| class="wikitable" | {| class="wikitable" | ||
| − | |+Additional units for some | + | |+Additional units for some, FARPS and Airbases |
!Warsaw | !Warsaw | ||
!NATO | !NATO | ||
| − | |||
| − | |||
| − | |||
| − | |||
| − | |||
| − | |||
|- | |- | ||
|T-72 | |T-72 | ||
| Line 57: | Line 65: | ||
|BTR-80 | |BTR-80 | ||
|LAV-25 | |LAV-25 | ||
| − | |}'''WARSAW UNITS''' | + | |}'''WARSAW UNITS''' |
| − | |||
| − | |||
| − | |||
[[File:EWR_1L13_Early_Warning_Radar.png|alt=EWR 1L13 Early Warning Radar|frameless|350x350px|link=http://91.205.184.66:8085/wiki/index.php/File:EWR_1L13_Early_Warning_Radar.png]][[File:SA-11_Launcher.png|alt=SA-11 Launcher|frameless|232x232px|link=http://91.205.184.66:8085/wiki/index.php/File:SA-11_Launcher.png]][[File:SA-11 BUK RS Target Acquisition Radar.png|frameless|330x330px|link=http://91.205.184.66:8085/wiki/index.php/File:SA-11_BUK_RS_Target_Acquisition_Radar.png]][[File:SA-15 Tor.png|frameless|227x227px|link=http://91.205.184.66:8085/wiki/index.php/File:SA-15_Tor.png]] | [[File:EWR_1L13_Early_Warning_Radar.png|alt=EWR 1L13 Early Warning Radar|frameless|350x350px|link=http://91.205.184.66:8085/wiki/index.php/File:EWR_1L13_Early_Warning_Radar.png]][[File:SA-11_Launcher.png|alt=SA-11 Launcher|frameless|232x232px|link=http://91.205.184.66:8085/wiki/index.php/File:SA-11_Launcher.png]][[File:SA-11 BUK RS Target Acquisition Radar.png|frameless|330x330px|link=http://91.205.184.66:8085/wiki/index.php/File:SA-11_BUK_RS_Target_Acquisition_Radar.png]][[File:SA-15 Tor.png|frameless|227x227px|link=http://91.205.184.66:8085/wiki/index.php/File:SA-15_Tor.png]] | ||
| − | + | [[File:SA-13 Strela.png|frameless|209x209px|link=http://91.205.184.66:8085/wiki/index.php/File:SA-13_Strela.png]][[File:SA-9 Strela.png|frameless|164x164px|link=http://91.205.184.66:8085/wiki/index.php/File:SA-9_Strela.png]][[File:ZSU-23-4 Shilka.png|frameless|219x219px|link=http://91.205.184.66:8085/wiki/index.php/File:ZSU-23-4_Shilka.png]] | |
| Line 72: | Line 77: | ||
| − | + | ||
| + | <br />[[File:EWR 1L13 Early Warning Radar.png|left|frameless|link=http://91.205.184.66:8085/wiki/index.php/File:EWR_1L13_Early_Warning_Radar.png]][[File:Hawk LN M192 SAM Launcher.png|frameless|234x234px|link=http://91.205.184.66:8085/wiki/index.php/File:Hawk_LN_M192_SAM_Launcher.png]][[File:Hawk SR-MPQ-50 Acquisition Radar.png|frameless|233x233px|link=http://91.205.184.66:8085/wiki/index.php/File:Hawk_SR-MPQ-50_Acquisition_Radar.png]][[File:NASAMS SR AN-MPQ-64F1 Sentinel.png|left|frameless|259x259px|link=http://91.205.184.66:8085/wiki/index.php/File:NASAMS_SR_AN-MPQ-64F1_Sentinel.png]][[File:NASAMS C2 Mobile Command Post.png|frameless|268x268px|link=http://91.205.184.66:8085/wiki/index.php/File:NASAMS_C2_Mobile_Command_Post.png]][[File:NASAMS Launcher.png|frameless|216x216px|link=http://91.205.184.66:8085/wiki/index.php/File:NASAMS_Launcher.png]] | ||
[[File:M48 Chaparral.png|frameless|214x214px|link=http://91.205.184.66:8085/wiki/index.php/File:M48_Chaparral.png]][[File:M-163 Vulcan.png|frameless|228x228px|link=http://91.205.184.66:8085/wiki/index.php/File:M-163_Vulcan.png]][[File:M1097 Avenger PMS.png|frameless|194x194px|link=http://91.205.184.66:8085/wiki/index.php/File:M1097_Avenger_PMS.png]][[File:M6 Linebacker.png|frameless|225x225px|link=http://91.205.184.66:8085/wiki/index.php/File:M6_Linebacker.png]] | [[File:M48 Chaparral.png|frameless|214x214px|link=http://91.205.184.66:8085/wiki/index.php/File:M48_Chaparral.png]][[File:M-163 Vulcan.png|frameless|228x228px|link=http://91.205.184.66:8085/wiki/index.php/File:M-163_Vulcan.png]][[File:M1097 Avenger PMS.png|frameless|194x194px|link=http://91.205.184.66:8085/wiki/index.php/File:M1097_Avenger_PMS.png]][[File:M6 Linebacker.png|frameless|225x225px|link=http://91.205.184.66:8085/wiki/index.php/File:M6_Linebacker.png]] | ||
| Line 98: | Line 104: | ||
| − | To successfully capture an Airbase, all of these above units must be destroyed, including the | + | To successfully capture an Airbase, all of these above units must be destroyed, including the ''last defender'' group which will spawn after the main units are destroyed. |
==FARPs== | ==FARPs== | ||
| − | A FARP (or Forward Arming and Refueling Point) is defended by the main units in the table below. The infrastructure of a FARP is a Helipad, Bunker, and outpost that also must be destroyed. Unlike in the airbases, the two radio masts are excluded from the objectives - they simply mark the FARPs location. | + | A FARP (or Forward Arming and Refueling Point) is defended by the main units in the table below. The infrastructure of a FARP is a Helipad, Bunker, and outpost that also must be destroyed. Unlike in the airbases, the two '''radio masts are excluded from the objectives''' - they simply mark the FARPs location. |
[[File:Masts.png|frameless|262x262px|link=http://91.205.184.66:8085/wiki/index.php/File:Masts.png]][[File:Masts.png|frameless|262x262px|link=http://91.205.184.66:8085/wiki/index.php/File:Masts.png]] | [[File:Masts.png|frameless|262x262px|link=http://91.205.184.66:8085/wiki/index.php/File:Masts.png]][[File:Masts.png|frameless|262x262px|link=http://91.205.184.66:8085/wiki/index.php/File:Masts.png]] | ||
| Line 149: | Line 155: | ||
[[File:Last defender group.png|frameless|717x717px|link=http://91.205.184.66:8085/wiki/index.php/File:Last_defender_group.png]] | [[File:Last defender group.png|frameless|717x717px|link=http://91.205.184.66:8085/wiki/index.php/File:Last_defender_group.png]] | ||
==Road-bases== | ==Road-bases== | ||
| − | Road-bases has the same basic lay out as FARPs. In addition they feature the hidden FARP unit allowing re-fueling, re-arming and repairing on a roadside while not on a physical helipad. This allows for fixed wing aircraft to make use of roads these invisible FARPs are placed in conjunction with. Road-bases normally have '''additional slots''' for fixed wing aircraft, namely the AV-8B Harrier for the NATO coalition and AJS-37 Viggen for the Warsaw coalition. See below the picture for the for details of additional units. | + | Road-bases has the same basic lay out as FARPs. In addition they feature the hidden FARP unit allowing re-fueling, re-arming and repairing on a roadside while not on a physical helipad. This allows for fixed wing aircraft to make use of roads these invisible FARPs are placed in conjunction with. Road-bases besides the helicopter slots normally have '''additional slots''' for fixed wing aircraft, namely the AV-8B Harrier for the NATO coalition and AJS-37 Viggen for the Warsaw coalition. See below the picture for the for details of additional units. |
Revision as of 21:22, 20 May 2022
Players can spawn at any Airbase, FARP or a Roadbase that is under their teams control. To win the round, all Airbases and FARP's must be captured by your team. More information on capturing these points can be found in the Logistics topic.
Players can spawn at any Airbase or FARP that is under their teams control. To win the round, all Airbases and FARP's must be captured by your team. More information on capturing these points can be found in the Logistics topic.
Capturing Objectives
Only a NEUTRAL airfield or a FARP, is capturable. Objective CLOSED is not the same as NEUTRAL. CLOSED means the objective still has enemy units but the enemy cannot spawn there anymore.
Once the airfield or a FARP has no units remaining, its' status will be listed as "neutral" and "capturable" in the PAK-info menu.
Best option is to use a logistics air frame (UH-1, Mi-8, SA-342L) capable of loading up troops (any kind will do) and a repair crate simultaneously from any friendly airbase, farp, roadbase, naval base or a carrier. Load up the troops and a repair crate via radio menu using the CTLD-options.
Navigate to the capturable objective and exract your troops, within 5km (ideally less) from the radio masts marking the objective location. Wait for a server message "...has captured objective x"
Once objective is captured, you can drop the repair crate also enforced by a server message.
Friendly infrastructure and air-defenses will only begin spawning in once at least one repair compound is established, see the Repair mechanics for a more detailed description
Airbases
An Airbase is defended by the below units:
| Warsaw | NATO |
|---|---|
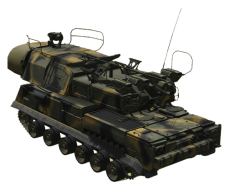
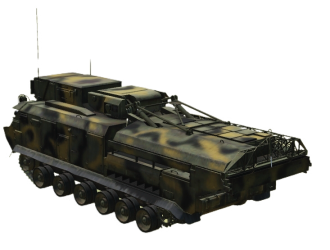
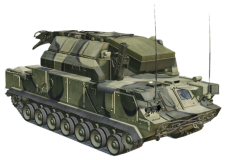
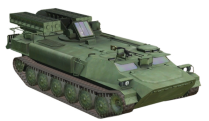
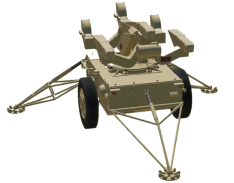
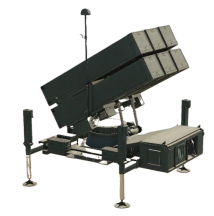
| 2x SA-11 Buk LN SAM | 2x Hawk LN M192 SAM |
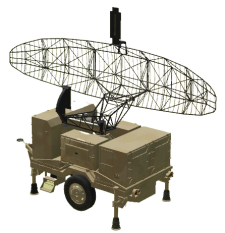
| 1x SA-11 Buk RS Acquisition Radar | 1x Hawk SR/MPQ-50 Acquisition Radar |
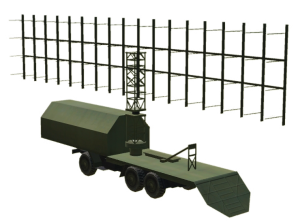
| 1x EWR 1L13 Early Warning Radar | 1x EWR 1L13 Early Warning Radar |
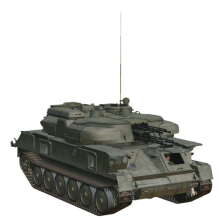
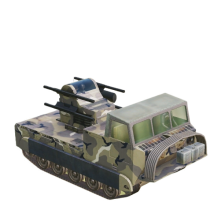
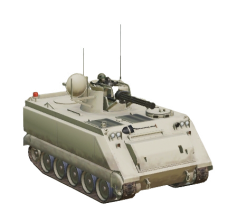
| 2x ZSU-23-4 | 2x Vulcan M163 |
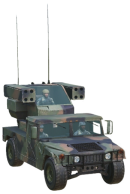
| 1x SA-13 | 1x Avenger M1097 |
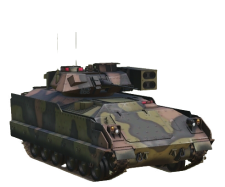
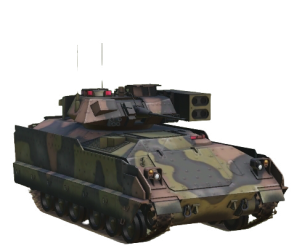
| 1x SA-9 | 1x Linebacker M6 |
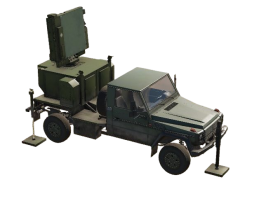
| 1 x SA-19 Tunguska | 1 x Roland ADS + Roland EWR |
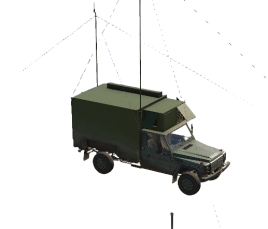
| 1 x M48 Chaparral | |
| Warsaw | NATO |
|---|---|
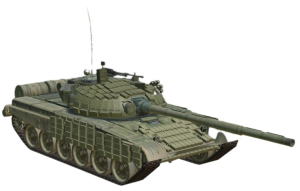
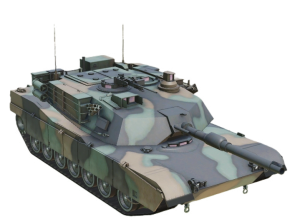
| T-72 | M1A2 Abrams |
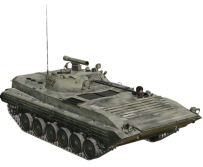
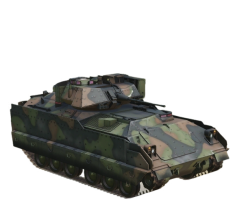
| BMP-3 | M2A2 Bradley |
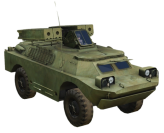
| BTR-80 | LAV-25 |
WARSAW UNITS
NATO UNITS
Reinforcements
When Airbases and FARPs are attacked for the first time in the session, reinforcements will spawn. The volume of reinforcement is scaled on the player numbers ratio. Team with less players online will have a larger reinforcement group spawning upon attack.
Reinforcements maybe spawned by a commander as well. Limited to 3 actions per session rotation and only once per objective. Reinforcements may include light armor tanks and air defense units such as Vulcans, Shilkas, short range IR-SAMs, self propelled artillery and main battle tanks.
Last Defenders:
Defender group will only spawn after the last remaining main units have been taken out. The group consist of at least
| 3 x ZSU-23 AAA |
| 1 x Manpad |
| 2 x RPG |
| 3 x Infantry |
To successfully capture an Airbase, all of these above units must be destroyed, including the last defender group which will spawn after the main units are destroyed.
FARPs
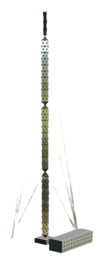
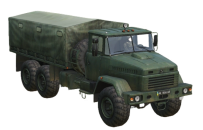
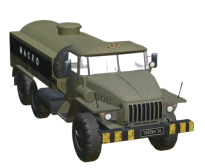
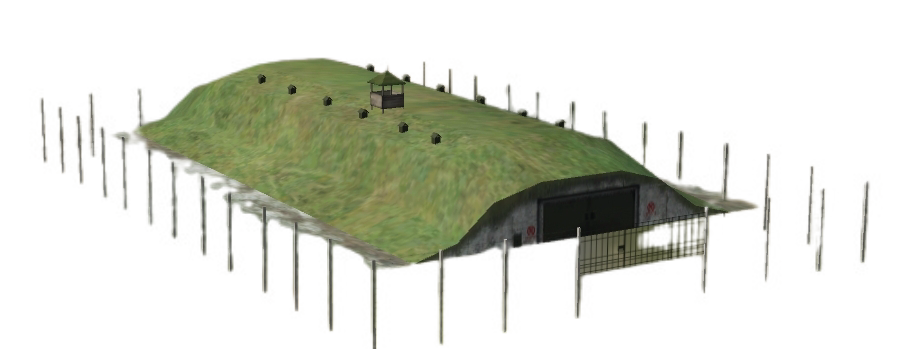
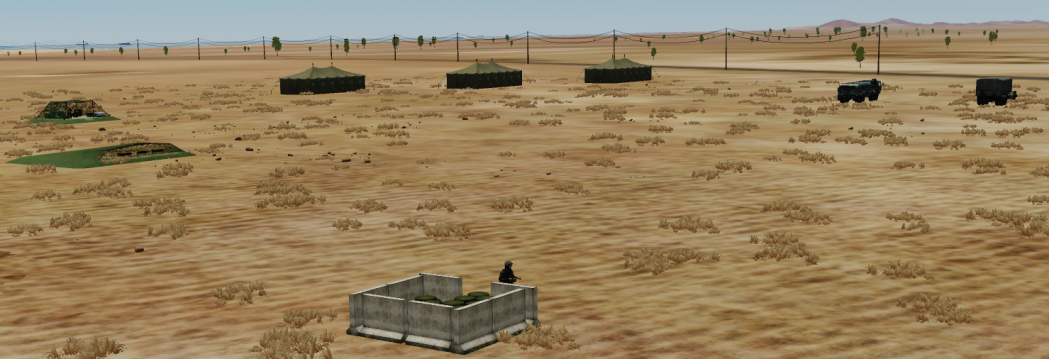
A FARP (or Forward Arming and Refueling Point) is defended by the main units in the table below. The infrastructure of a FARP is a Helipad, Bunker, and outpost that also must be destroyed. Unlike in the airbases, the two radio masts are excluded from the objectives - they simply mark the FARPs location.
| NATO | Warsaw | |
|---|---|---|
| 1 x Static | Fuel truck | Fuel truck |
| 1 x Static | Ammo truck | Ammo truck |
| 1 x Static | Bunker | Bunker |
| 2 x Mobile IR SAM | M1097 Avenger | SA-13 Strela |
| 2 x Mobile IR SAM | M6 Linebacker | SA-9 Strela |
| 2 x Mobile AAA | Vulcan | ZSU-34-4 Shilka |
Statics
NATO Units
Warsaw units
Last Defenders:
Just like with airbases, Last defender group will only spawn after the last remaining main units have been taken out.
Road-bases
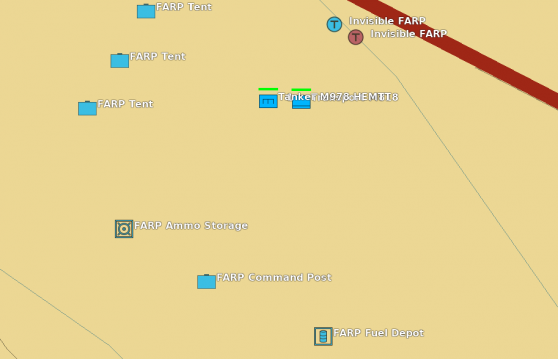
Road-bases has the same basic lay out as FARPs. In addition they feature the hidden FARP unit allowing re-fueling, re-arming and repairing on a roadside while not on a physical helipad. This allows for fixed wing aircraft to make use of roads these invisible FARPs are placed in conjunction with. Road-bases besides the helicopter slots normally have additional slots for fixed wing aircraft, namely the AV-8B Harrier for the NATO coalition and AJS-37 Viggen for the Warsaw coalition. See below the picture for the for details of additional units.
EDIT: current composition of units may not reflect the images below in pursuit performance testing on the server 04/2022.

